If you are looking for a simple dessert recipe to make for your Valentine then this is the recipe for you! Red Velvet is extremely popular right now, are you familiar with it? Red Velvet is basically a chocolate based cake mix with red food coloring added in.

Red Velvet Cookies
This recipe only has 4 ingredients and one of those is the frosting for on top of the cookie.
Soft & Chewy
It’s amazing how soft & chewy these cookies are.

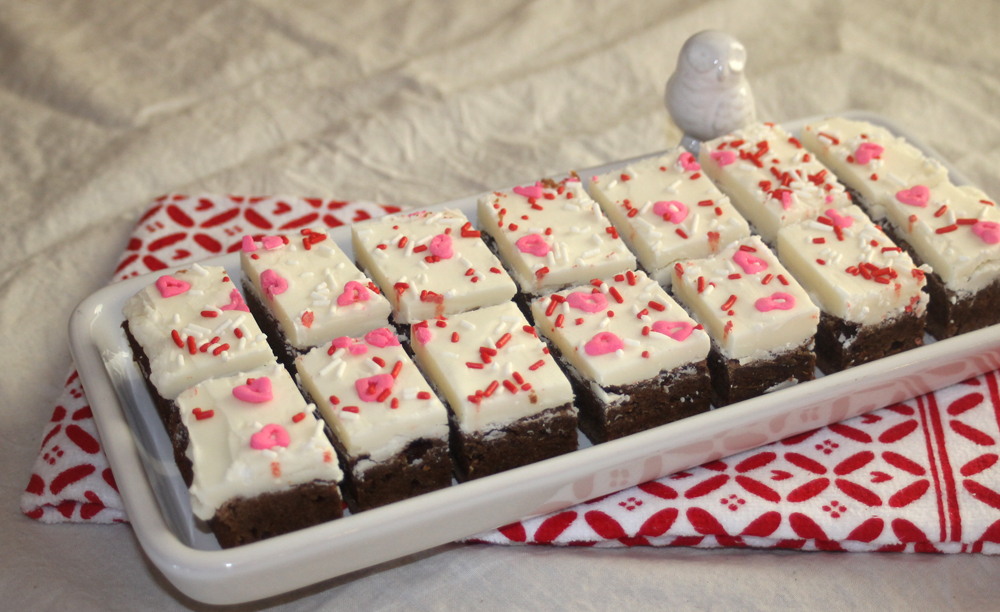
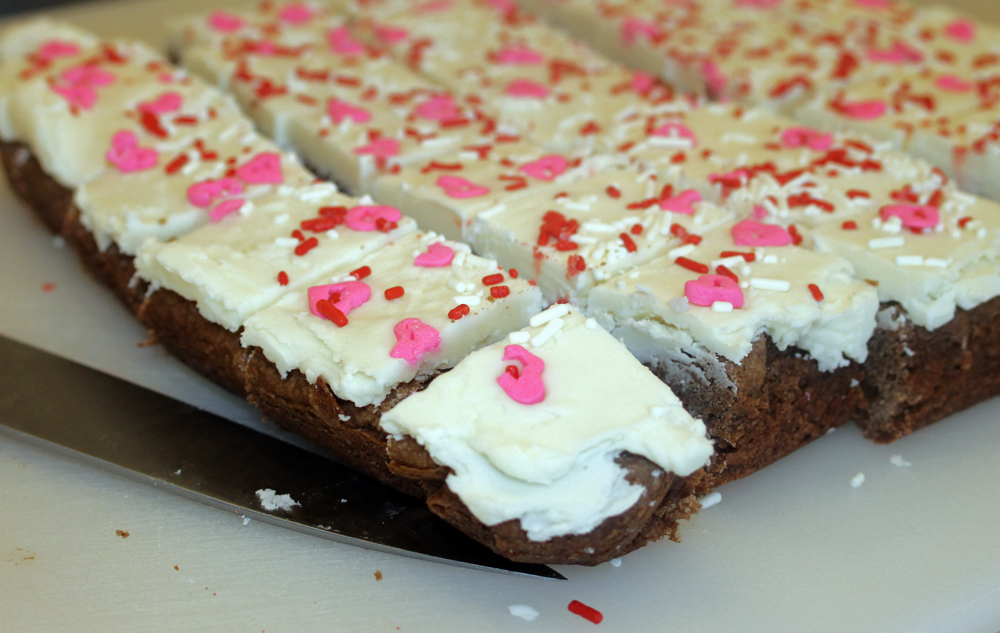
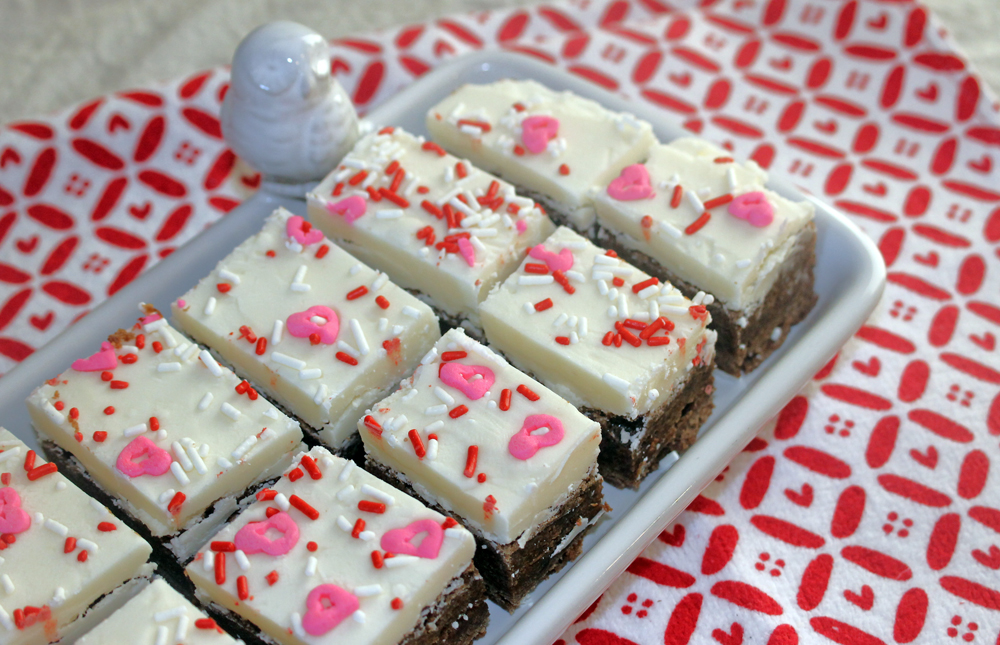
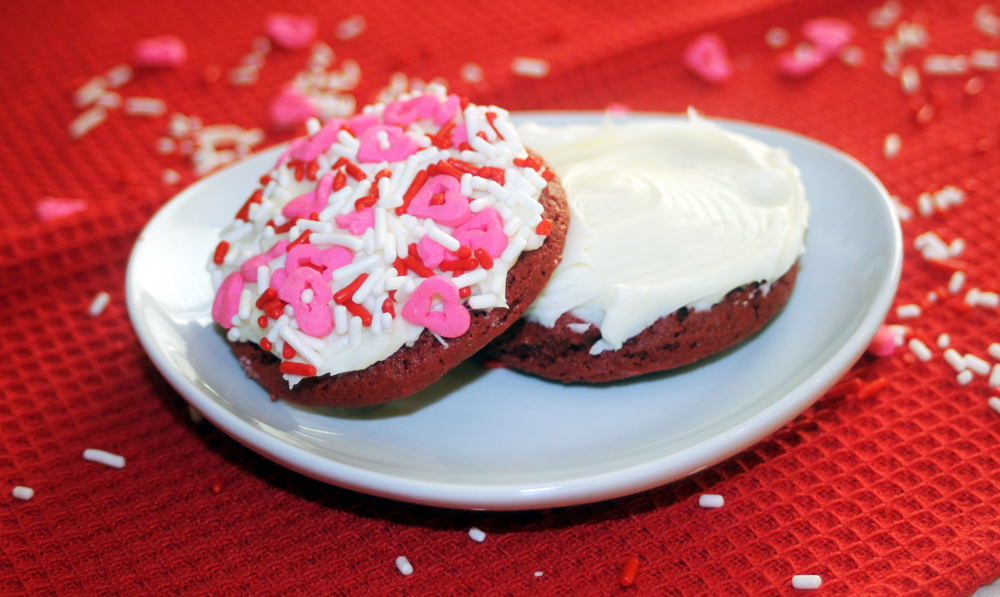
Add colorful sprinkles
It’s hard to each just one, luckily this recipe makes a large amount of cookies.
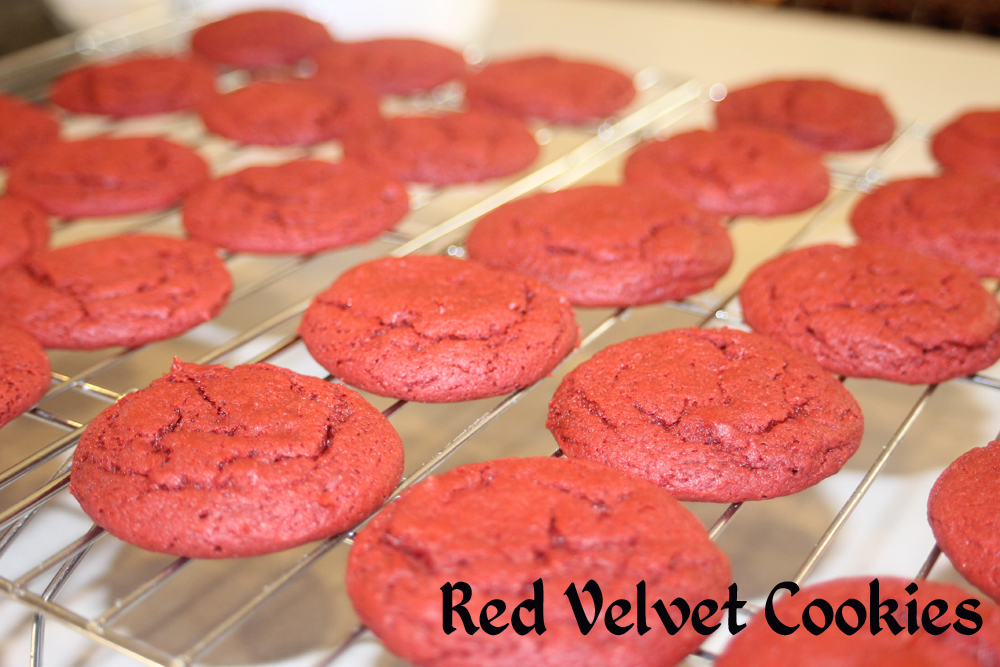
Before they are frosted.

Box them up for your Valentine!
Enjoy!

Red Velvet Cookies

Ingredients
- 1 – 15.25 ounce box red velvet cake mix
- ½ cup (1 stick) butter, softened
- 2 eggs, room temperature
- 1 – 16 ounce container frosting (I used vanilla)
- Sprinkles, optional
Instructions
- Preheat oven to 350 degrees. Line the baking sheets with parchment paper or silicone baking sheets.
- In a mixer, combine the cake mix and butter, add in the eggs, one at a time until each is combined.
- Use a cookie scoop or 2 teaspoons to form the cookies, place on the baking sheets.
- Bake for 10-12 minutes until puffy. Let the cookies rest on the baking sheets for 2 minutes, then transfer to a cooling rack. Cool completely, then frost.